Configuring Your FluentCase Account to Synchronize Your Gmail Inbox
Using Outlook instead? See Configuring Outlook Sync.
Steps to Configure Gmail Sync
Step 1: Access Personal Preferences
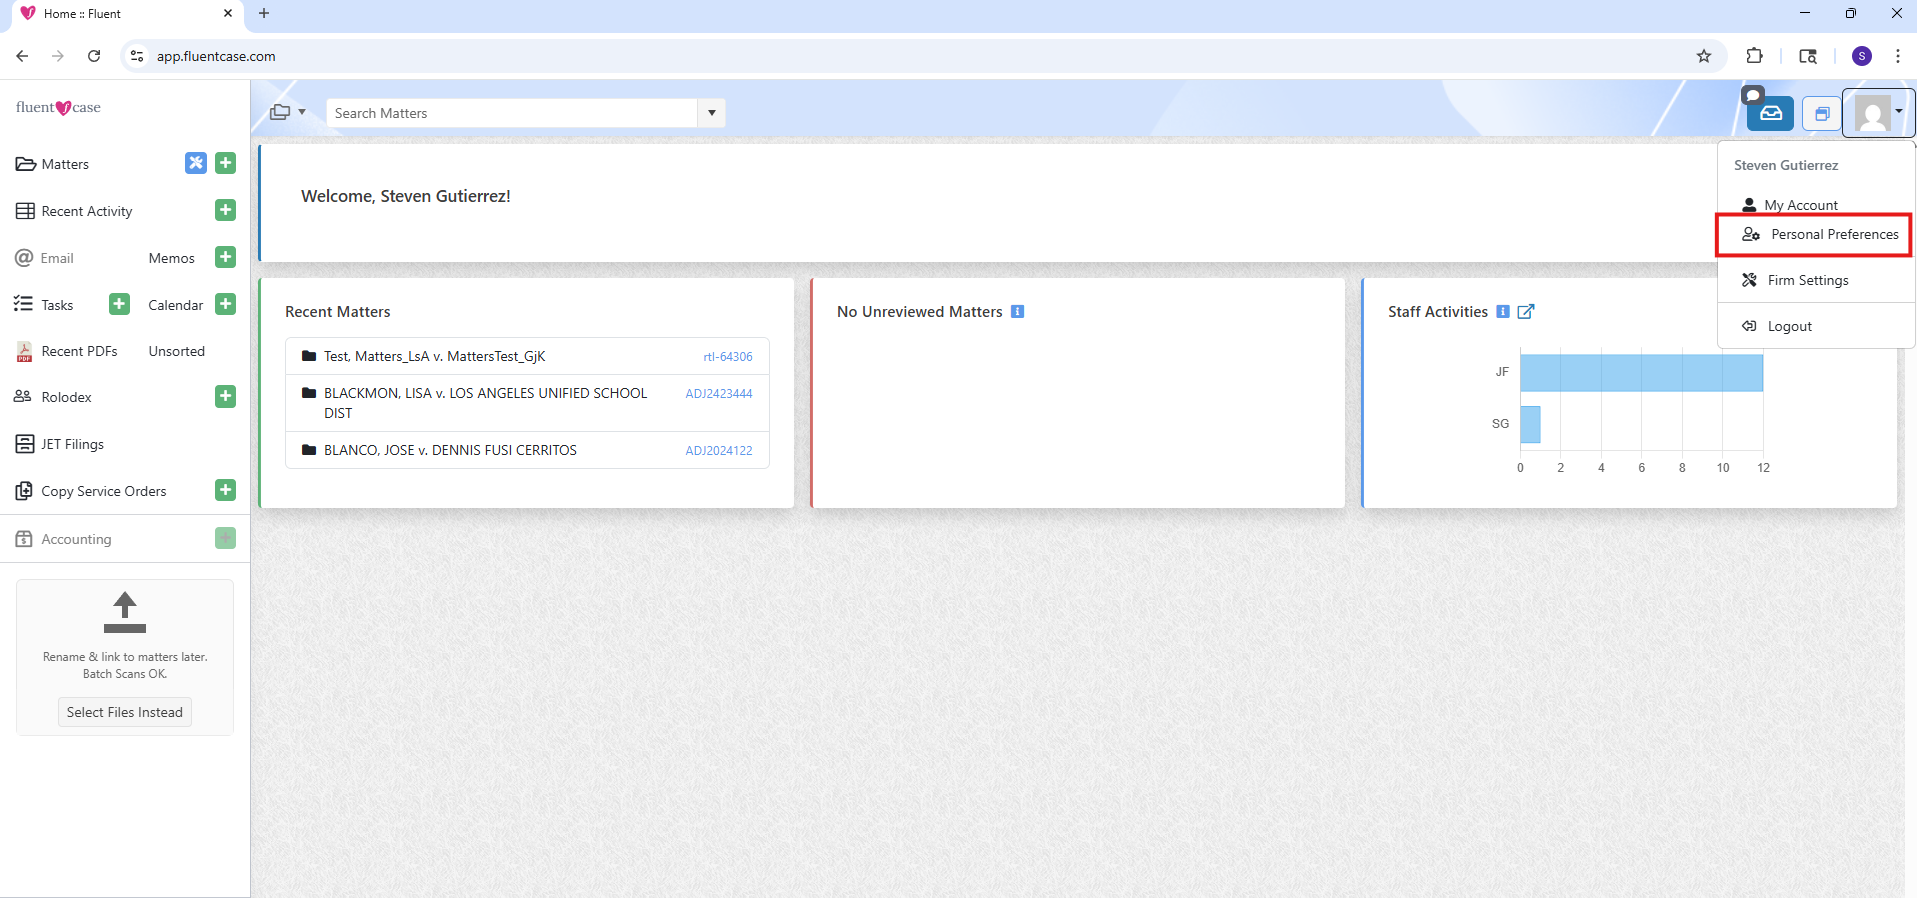
Begin by locating your FluentCase profile picture in the upper right corner of the web page. Click on the profile picture and select Personal Preferences from the list provided.
Step 2: Navigate to Email Accounts
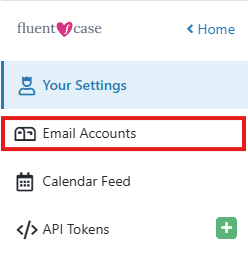
After clicking on Personal Preferences, you will be taken to a new page with a navigation pane on the left side. Click Email Accounts.
Step 3: Link Gmail Account
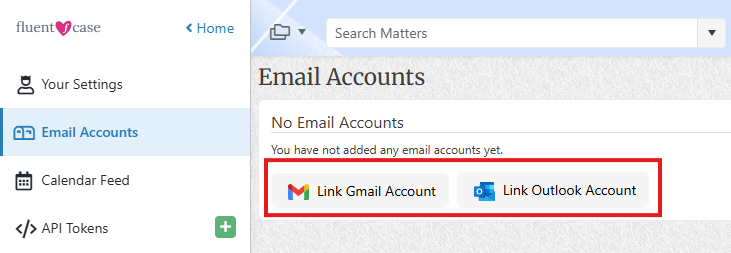
In the navigation panel, select Email Accounts and then click Link Gmail Account.
Step 4: Select Gmail Account
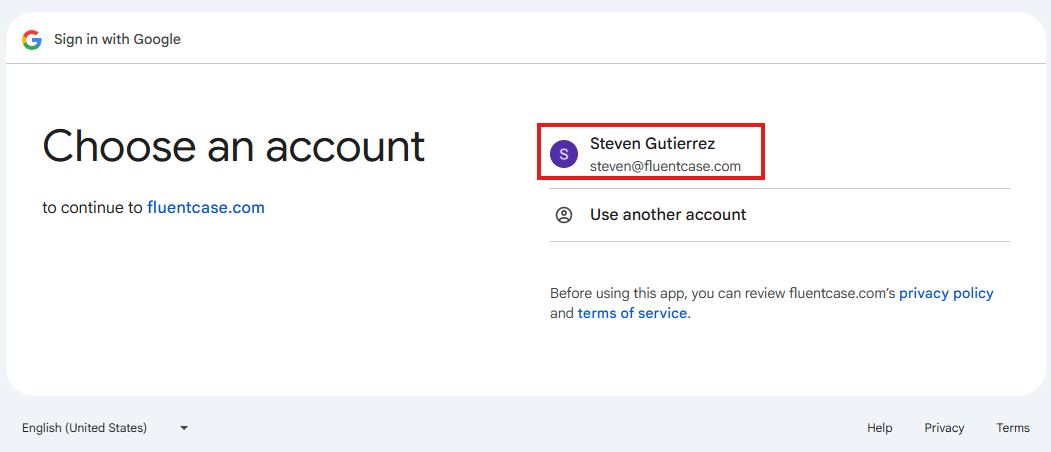
You will be asked to select the Gmail Account Email address to be linked to FluentCase.
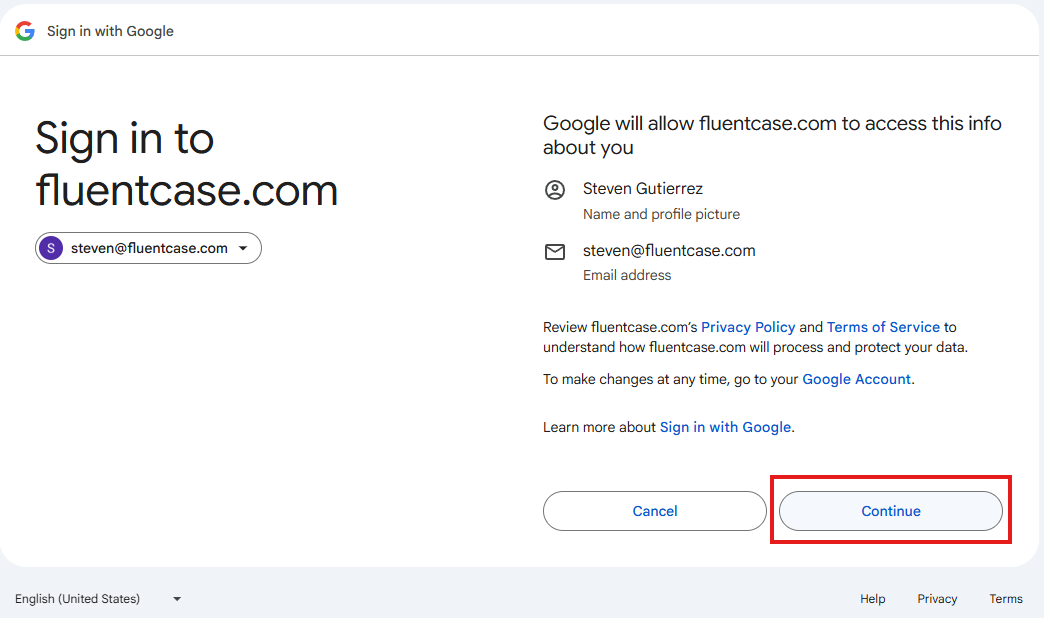
Step 5: Allow Access
On the next page, Google will ask you to Allow fluentcase.com to access info about you. Confirm the connection by selecting Continue at the bottom of the page.
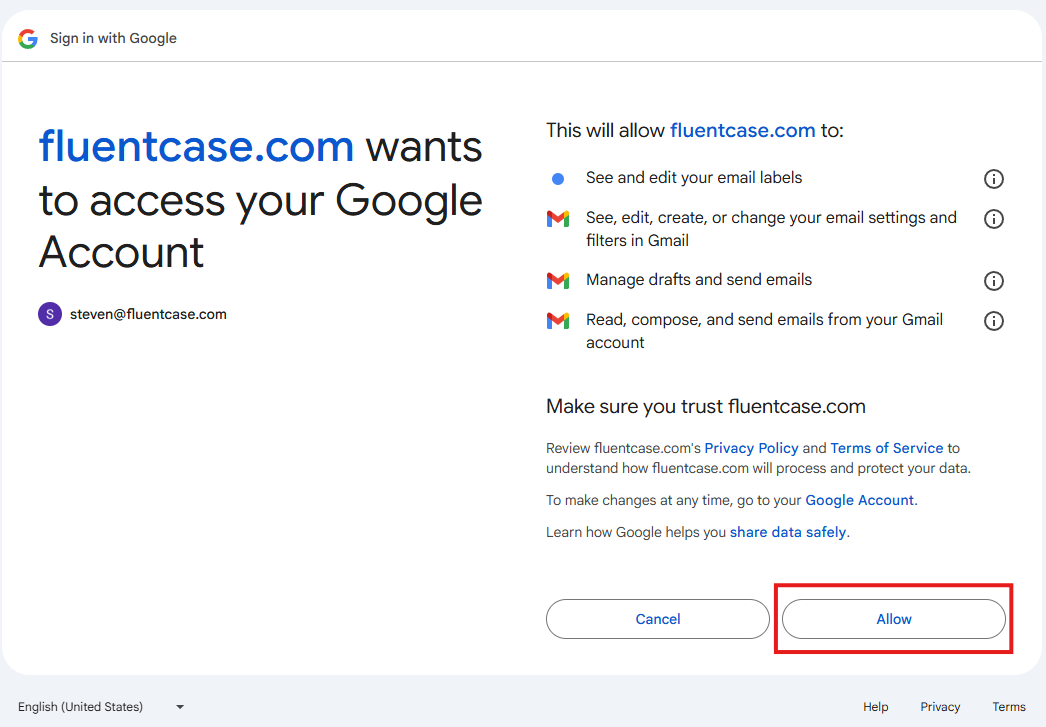
Step 6: Allow Email Permissions
On the next page, you will be asked to Allow fluentcase.com to see and edit your email labels. This is required to send/receive emails via FluentCase. Select Allow to continue with allowing fluentcase.com to send and receive email using your Gmail account.
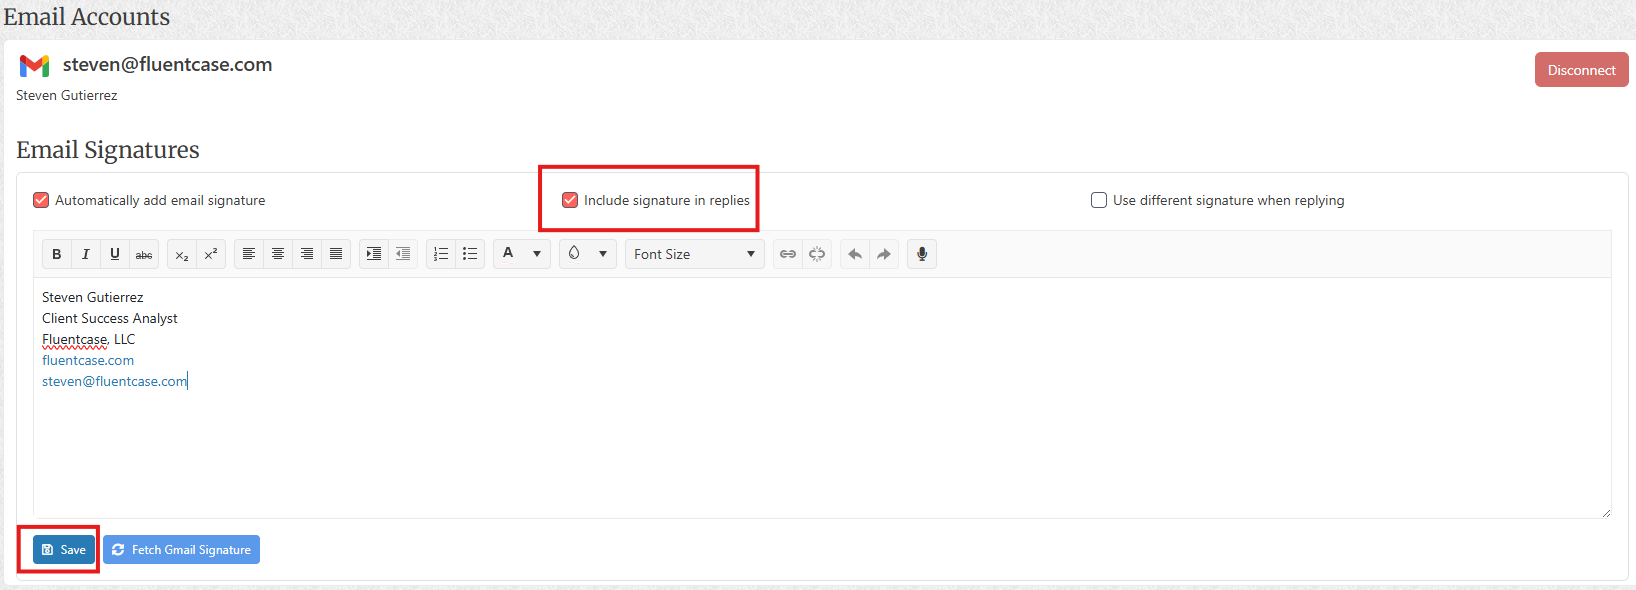
Step 7: Configure Email Signature
Once completed, you will be returned to the Email Signatures page. You can now update your email signature in FluentCase or click Fetch Gmail Signature to import your Gmail signature. If this is the first time you have configured your account to sync with Fluent, the default Gmail signature should have already been fetched. Select Save after making your changes.
Complete
The Gmail link process is now complete. Please allow 10–15 minutes for messages to propagate into your FluentCase email inbox.