Working with Gmail
Using Outlook instead? See Working with Outlook.
FluentCase integrates with Gmail for permanently recording matter-related email correspondence in Activities.
Messages can be sent from FluentCase via your Gmail account from within a Matter without leaving the application. Replies on a given Gmail thread are automatically added to the Matter as new activities, including any attachments. All such replies and attachments are timestamped based on the internal message date. This generally corresponds with the date the author’s email server processed the message.
Messages sent from within FluentCase automatically create new labels in your Gmail account. A new label (or folder) entitled "🩷" is created in your Gmail account, with the case matter name nested under the "🩷" label. These labels are designed to provide an inline case identifier when accessing your email directly from the Gmail interface. This is especially helpful when reviewing an incoming reply on a thread where obvious identifying information is not included in the subject line.
Connecting Fluent to your Gmail Account
Configure your gmail account at https://app.fluentcase.com/settings/email-accounts
Sending Gmail Messages from within FluentCase
There are several ways to create new messages.
-
You may create a new message draft from within a case matter using the green “➕” button adjacent the “Message Drafts” link in the main (left-hand) menu.
-
Any party with a primary email address set will have their email addres displayed in the parties list on the Matter Dashboard and the summary “dog tags” in the Parties section. These links are clickable and will navigate to a new message draft with the recipient pre-selected.
-
While viewing any document, the “Forward” button can be used to create new message draft. The document will be included as an attachment.
-
Finally, any existing message present in Activities has “Reply”, “Reply All”, and “Forward” buttons. These behave as one would expect, spawning a new message draft with the appropriate recipients. Forwarded messages include attachments; replies do not.
-
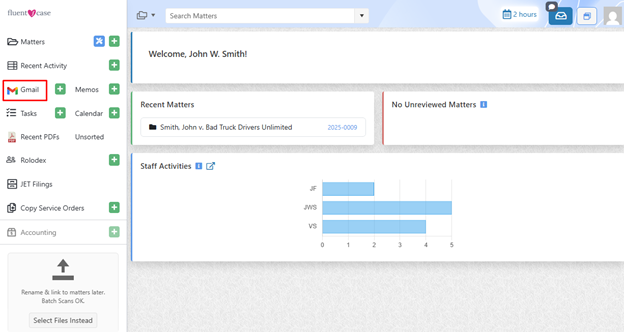
From outside a case matter, begin by selecting the Gmail icon on the left side of the screen in the navigation pane.
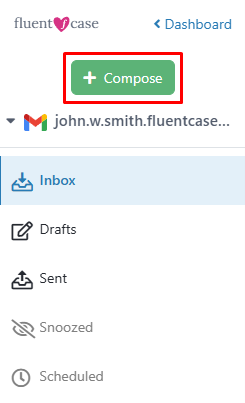
Click on Compose to begin creating an email. For draft behavior and signatures, see Email Drafts and Email Signatures.
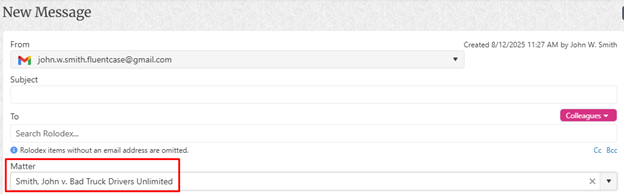
Fill in the subject line.
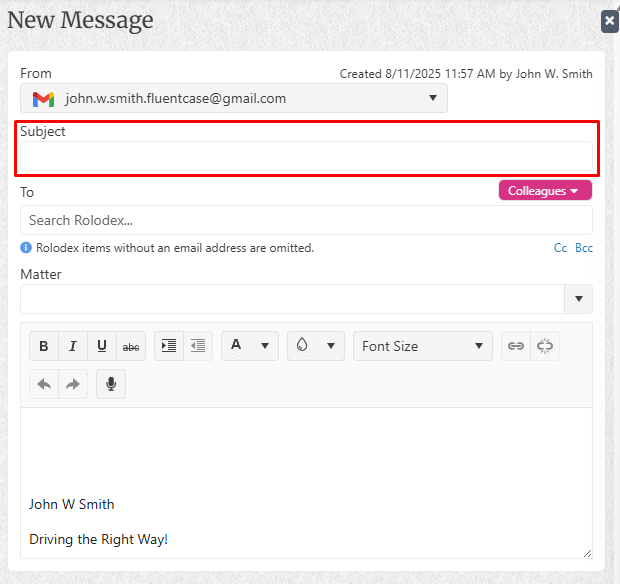
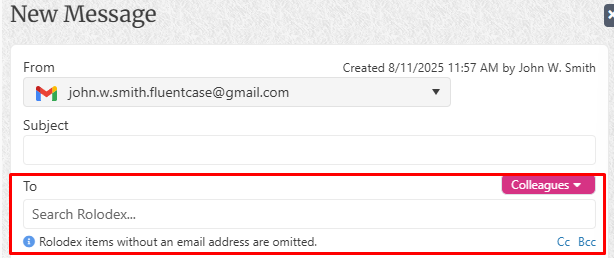
Type an email address manually or select from the rolodex of existing contacts in the Fluentcase database.
Select the matter to attach this message to for safe keeping.

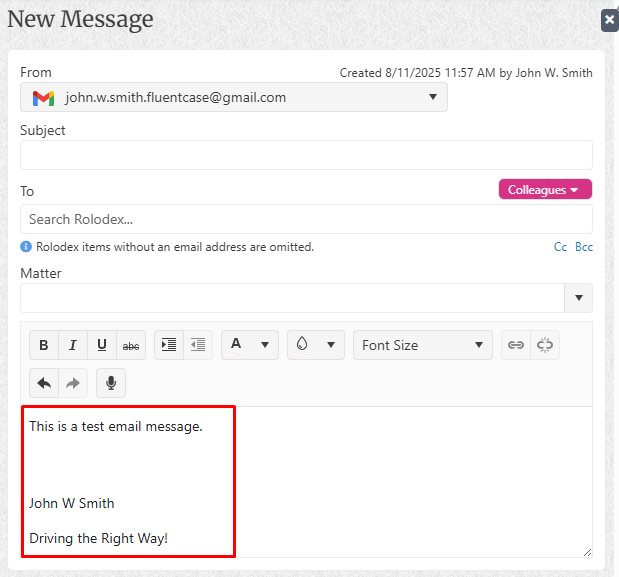
Compose your message body.
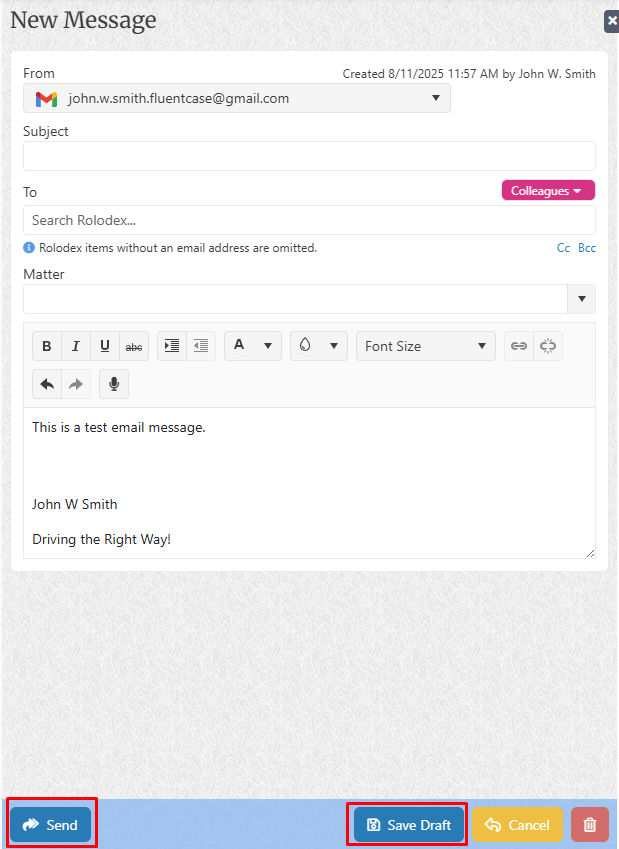
Click on Send to send your message or click on the floppy disk icon to save this message as a draft to be sent later.
Common Issues
I constantly have to reauthenticate my gmail account throughout the day. How do I make the authentication credentials last longer?
When you first allow Fluent access to your Gmail account, Google shares an refresh token with FluentCase that can be used to regenerate new access tokens. This only occurs when you perform a “full” authorization – explicitly allowing Fluent access to various privileges on your account. Subsequent “quick” authorizations against Google, where the specific privileges are not spelled out, and where you may not be prompted to enter a password, do not provide a refresh token. The resulting access tokens are short-lived and expire in only an hour.
To fix this issue, we need to explicitly remove Fluent’s access to your Gmail account by revoking privileges with Google. We can then reestablish access, which should prompt a “full” authorization and allow Fluent to magically generate new Gmail access tokens. This also allows us to efficiently and quietly synchronize any replies on existing threads.
Disconnect Fluent for Gmail from Your Google Account
- Open your web browser and go to the Google Account third-party connections page: https://myaccount.google.com/connections.
- Sign in to your Google Account if you’re not already signed in.
- Find Fluent for Gmail in the list of connected apps and services.
- Click on Fluent for Gmail to view more details about the connection.
- Click on the “Remove” button (usually represented by a trash can icon) next to the Fluent for Gmail entry.
- Confirm the removal by clicking “OK” or “Remove” in the pop-up confirmation window.