First Login
- Navigate to https://app.fluentcase.com
- Enter your email address
- Choose your login method:
- Magic Login Link (recommended) - Click "Email Magic Login Link" to receive a secure login link via email
- Password - Click "Use password instead?" to log in with your password
- If you don't have an account yet, contact your firm administrator
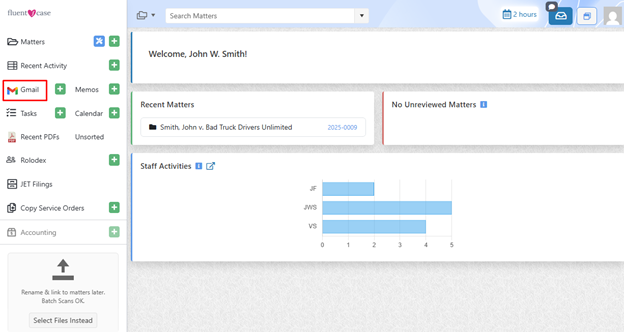
Understanding the Dashboard
When you first log in, you'll see the FluentCase dashboard with several key sections:
Navigation Menu
The left sidebar provides access to all major features:
- Matters - View and manage all your cases
- Activities - Track all matter-related activities
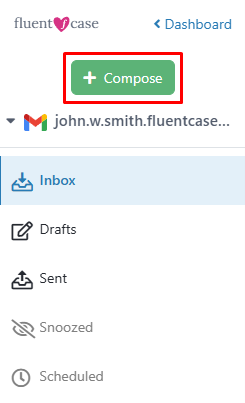
- Messages - Email integration with Gmail/Outlook
- Documents - Document management and storage
- Calendar - Events, deadlines, and appointments
- Tasks - Task management and tracking
- Rolodex - Contact database
- Memos - Internal memos and notes
- Copy Service - Copy service order management
- JET Filings - JET filing management
Dashboard Notifications & Widgets
Your dashboard displays:
- Recent Matters - Matters you've accessed recently
- Unreviewed Matters - Matters awaiting review
- Staff Activities - Activity feed across your firm's staff
Notifications
Notifications are located in the upper right corner of the screen, next to the avatar silhouette. Click the notification icon to view and manage your alerts.
- Incomplete Tasks - Notifications for tasks that are pending completion
- Upcoming Events - Notifications for calendar events and deadlines
- Unread Memos - Notifications for internal memos that haven't been read
- Unread Emails - Notifications for emails awaiting your attention
Creating Your First Matter
- Click Matters in the left sidebar
- Click the adjacent to Matters in the left navigation panel
- Select the matter type (Workers' Compensation, Personal Injury, Employment, etc.)
- Fill in the required fields:
- Matter name/title
- Client information
- Click Save
For detailed instructions, see Creating and Managing Matters.
Uploading Your First Document
Note: This feature is located under the Accounting title in the Navigation Menu, then under the Copy Service Orders title within a matter.
- Navigate to a matter by clicking Matters in the left sidebar and selecting the relevant matter
- You can drag and drop a file directly into the matter or click Select Files to browse and choose files from your device to complete the upload process
For more information, see Uploading Documents.
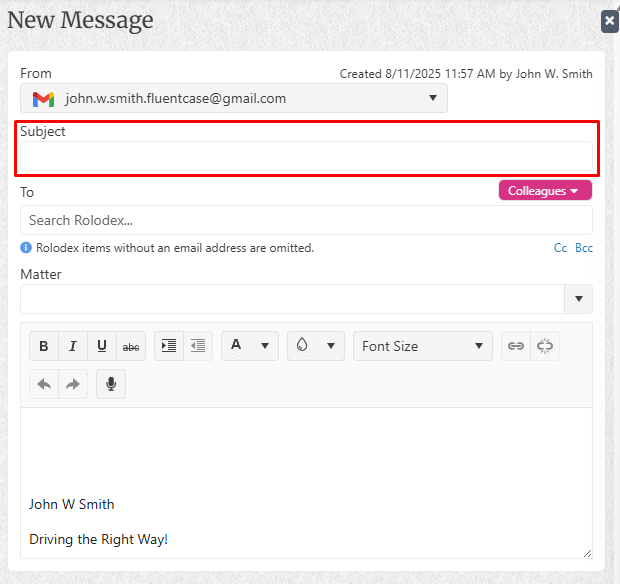
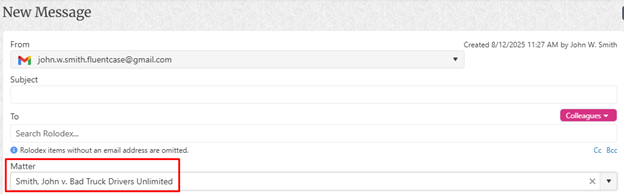
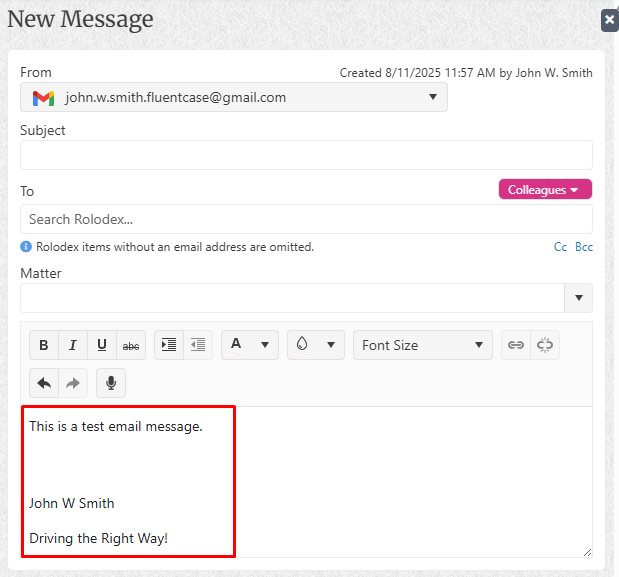
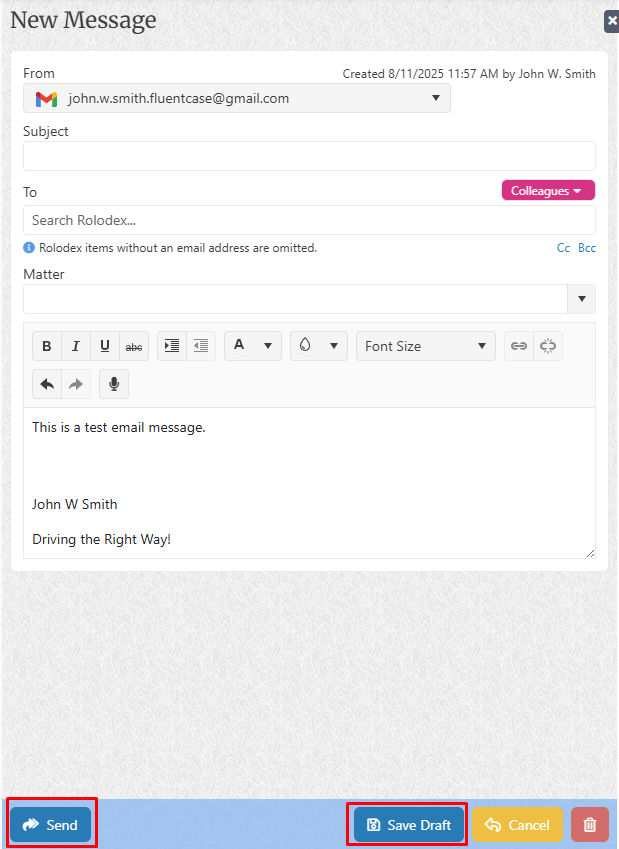
Setting Up Email Integration
FluentCase integrates with Gmail and Outlook to manage your email directly within the application.
Gmail Setup
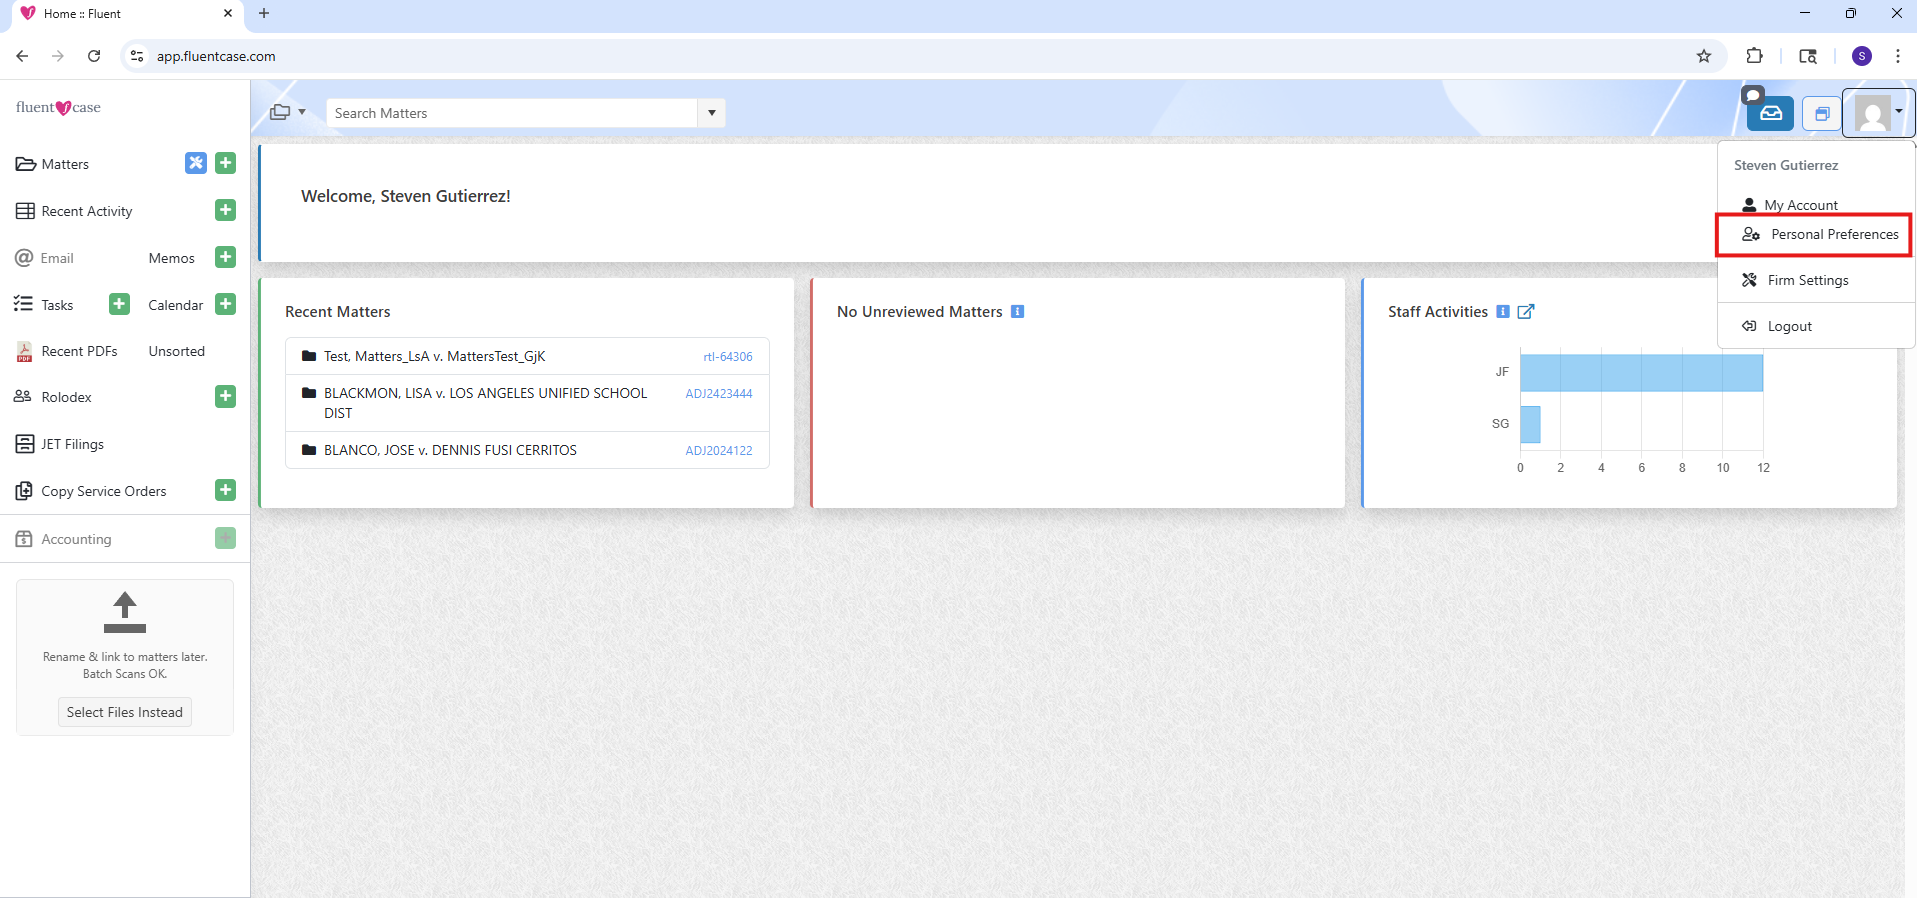
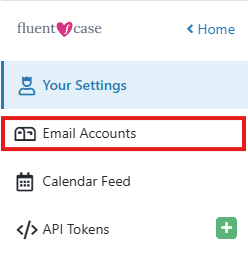
- Click on your avatar silhouette (top-right corner) and select Personal Preferences
- Select Email Accounts
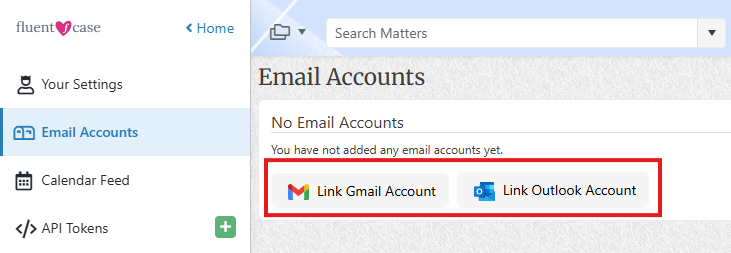
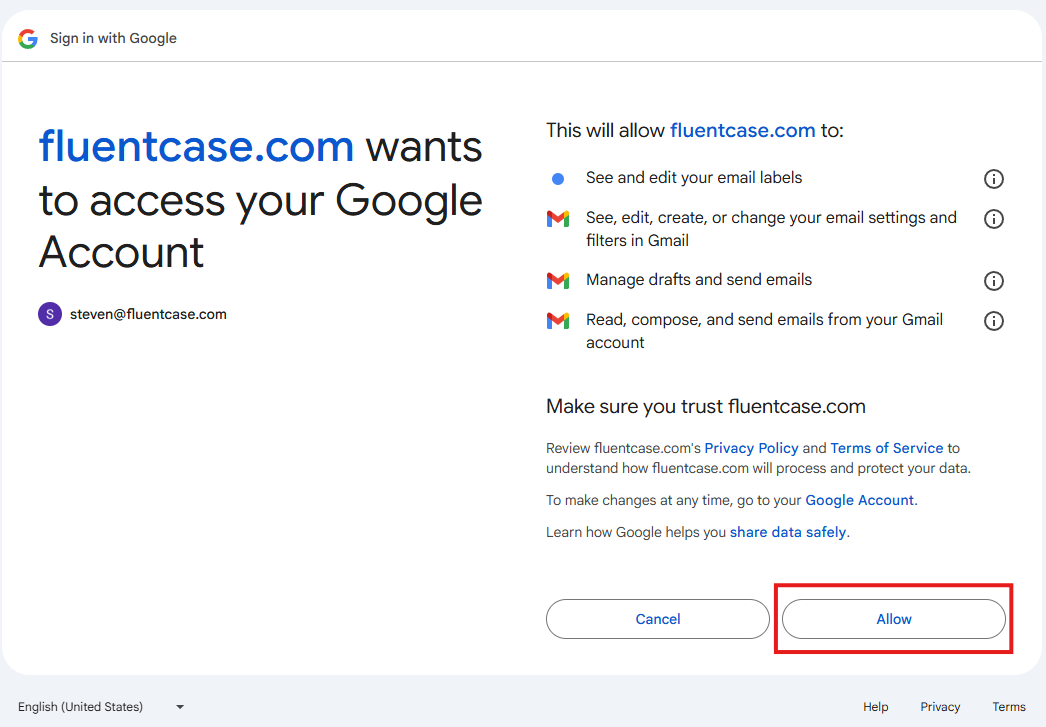
- Click Link Gmail Account
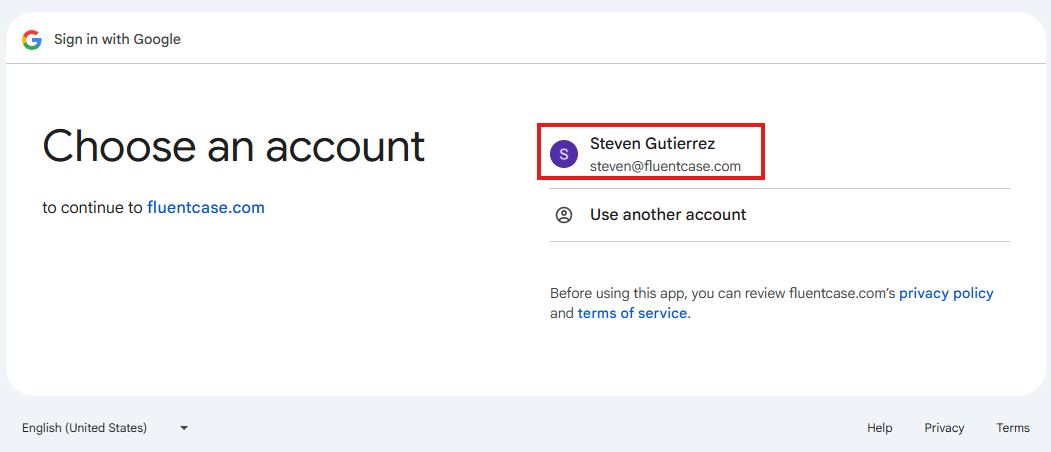
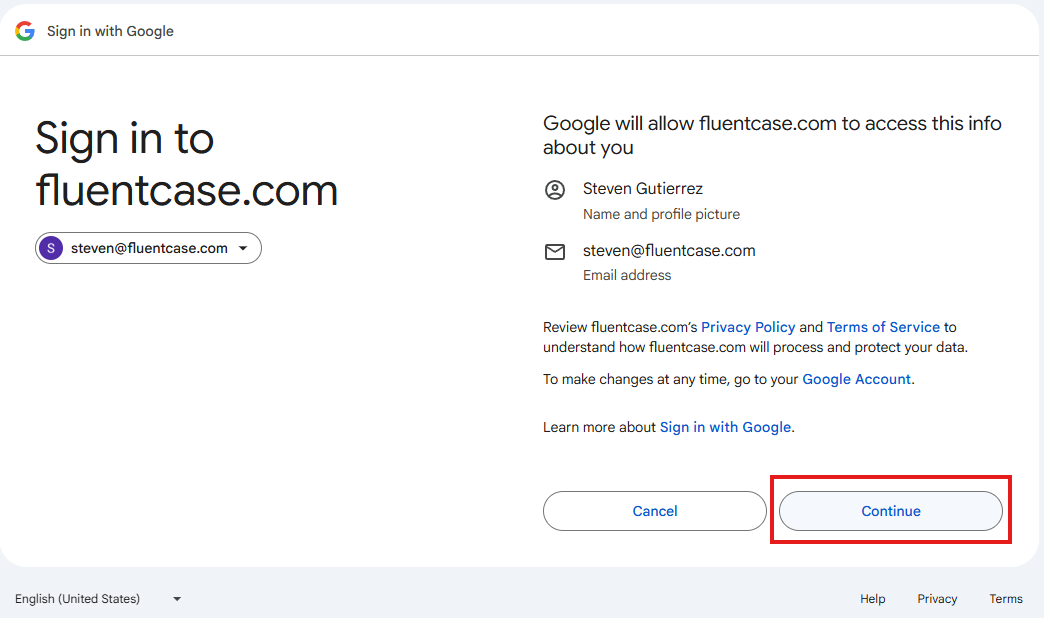
- Authorize FluentCase to access your Gmail
- Your emails will begin syncing automatically
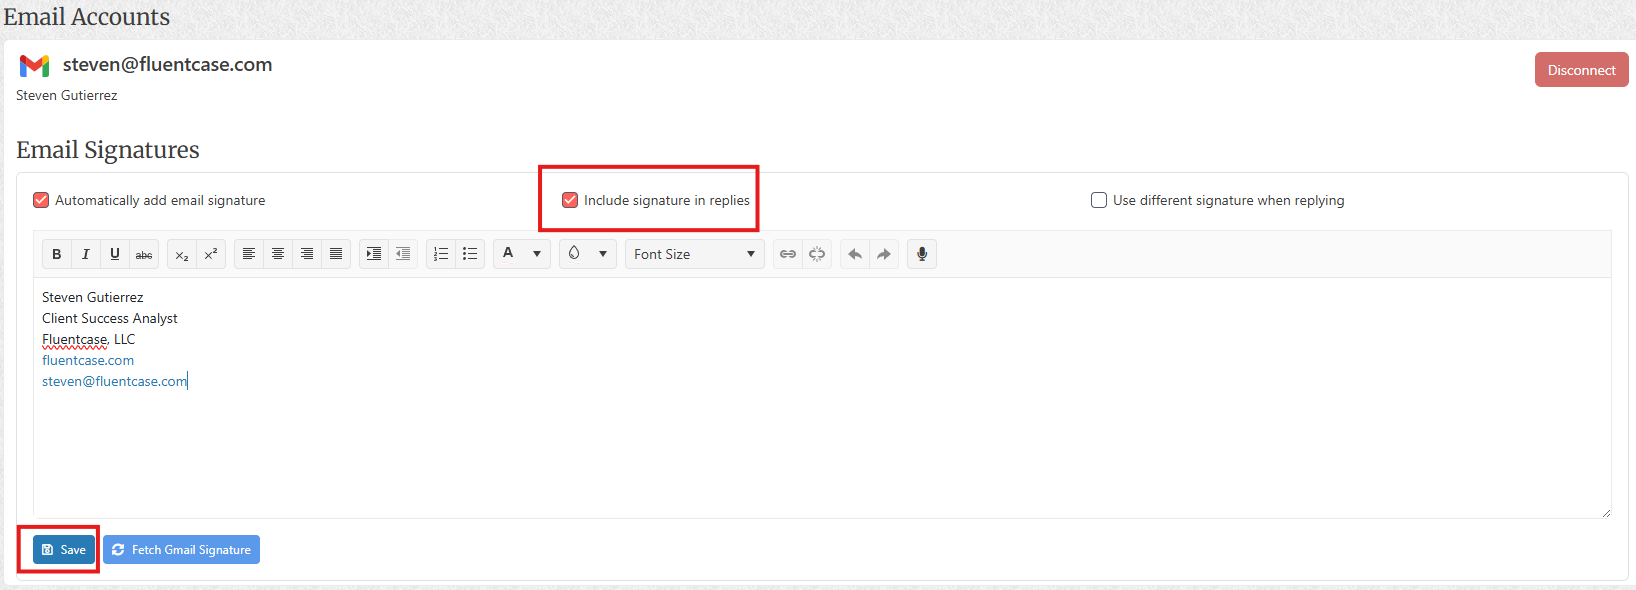
Tip: You can create your email signature directly on this same Email Accounts setup page. You can also return to Personal Preferences then Email Accounts at any time to update your signature.
See Gmail Integration for detailed instructions.
Outlook Setup
- Click on your avatar silhouette (top-right corner) and select Personal Preferences
- Select Email Accounts
- Click Link Outlook Account
- Authorize FluentCase to access your Outlook
- Your emails will begin syncing automatically
Tip: You can create your email signature directly on this same Email Accounts setup page. You can also return to Personal Preferences then Email Accounts at any time to update your signature.
See Configuring Outlook Sync for detailed instructions.
Setting Up Calendar Sync
Sync your FluentCase calendar with your device's calendar app:
- Click on your avatar silhouette (top-right corner) and select Personal Preferences
- Select Calendar Feed
- Click the Disabled button to enable calendar sync
- Copy your personal calendar URL
- Add the URL to your calendar application (Apple Calendar, Google Calendar, Outlook Calendar, etc.)
Tip: This synchronization is a one-way push of FluentCase calendar data to your preferred calendar application. Any changes to your firm calendar must be made directly within FluentCase — no updates to the firm calendar take place outside of FluentCase.
See Calendar Sync Setup for platform-specific instructions.
Creating Your First Task
- Open a matter or go to the Tasks section
- Click adjacent to Tasks in the left navigation panel
- Enter task Description
- Set the Assignee and Due Date
- Click Save
Adding Rolodex Entries
- Click Rolodex in the left sidebar
- Click adjacent to Rolodex entries in the left navigation panel
- Enter contact information:
- Name
- People Type (Client, Attorney, Insurance Adjuster, etc.)
- Phone
- Physical Address
- Click Save
Next Steps
Now that you're familiar with the basics:
- Customize your preferences - Go to Settings to configure your personal preferences
- Import existing data - Contact support if you need to migrate data from another system
- Set up automations - Create automated workflows to save time
- Explore advanced features - Learn about Copy Service, JET Filings, and more
- Understanding User Roles - Learn about user roles and permissions in the Firm Settings section. See User Roles and Permissions for details.
Getting Help
- Knowledge Base - Browse our comprehensive documentation
- Interactive OpenAPI Documentation for Developers - https://app.fluentcase.com/api
Tips for Success
- Use tags - Tag activities and documents for easy organization
- Set up automations - Automate repetitive tasks
- Sync your calendar - Keep all your deadlines in one place
- Use batch scanning - Upload multiple documents at once